Related Articles


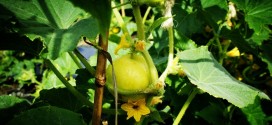
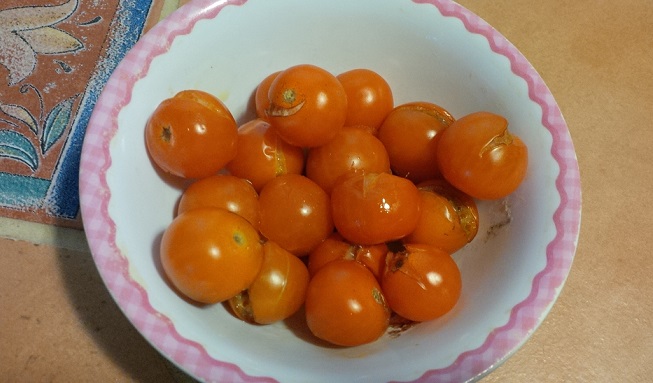
I was watering my cherry tomatoes when I realized that some tomatoes were already bursting open. Should have picked those days ago. What am I going to do with those tomatoes? I do not want to eat those, as germs and bacteria might have already found their way in.
The best way I can think of is to use them as seeds for the next year. Those cherry tomato seedlings cost me 3$ each just two months ago. By saving those tomato seeds, I might save a couple of bucks that could be used somewhere else. What’s more, I might share some of those seeds with friends.
Heirloom vs. Hybrid Seeds
If you have never heard of heirloom seeds, now is the time. Heirloom seeds usually mentioned side by side with hybrid seeds. Hybrid seeds are pollinated by crossing selected varieties, sometimes resulting in vigorous plants that yield more than heirlooms, but seeds from hybrid plants usually do not breed true. While heirloom vegetables are varieties that are open-pollinated and saved and handed down through multiple generations. Make sure that the plants from which you are saving seeds are not from hybrid seeds, as the hybrid varieties will not breed true, meaning the taste, color of the tomato from those seeds will not be the same.
Saving Tomato Seeds
To prepare and save tomato seeds is a fairly simple process. Just scoop up the part of tomato with seeds and dry them out to get the seeds. But those seeds might have difficulty germinating with all the goo on them. A better way is to ferment them. The fermenting process will remove the goo and produce some healthy seeds.
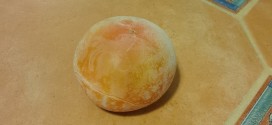
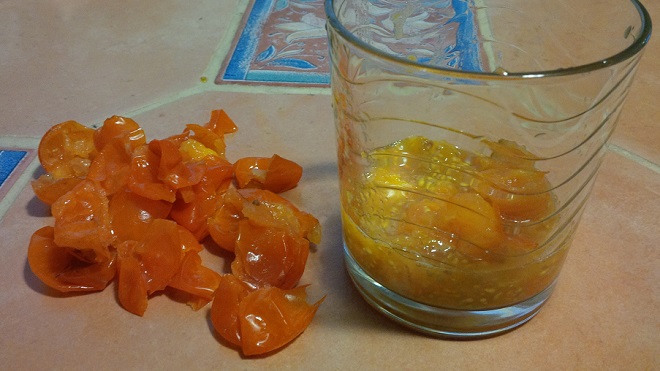
It was just one day ago that the tomatoes were picked and they were already starting to ferment all by themselves (well, guess I helped a bit by leaving them in the sun for a few hours the other day).
I squeezed the seeds and goo’s out, as it was a bit hard to scoop the seeds with a spoon or knife when the fermentation process has already kicked in.
I put those seeds enclosed in goo’s in my drinking glass (it happens to be the first container that I thought of; don’t worry, I will give it a good wash when it’s done!) so that I can see what happens in there. I pricked the plastic so that air can go in and out of the glass to help with the fermentation process.
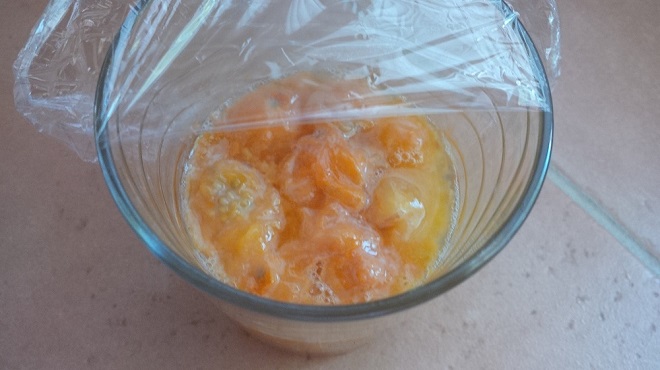
Don’t forget to stir the mixture so that some air goes in there. Some of the good seeds were already sinking to the bottom of the glass.
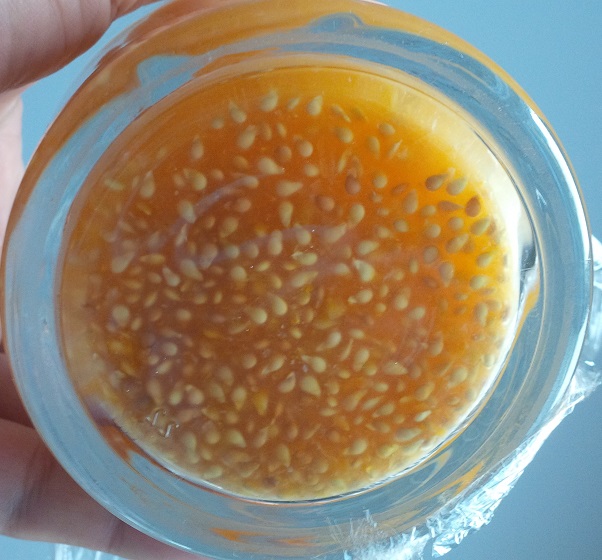
Give it one more day, the fermentation would completely separate the seeds from its slimy goo’s.
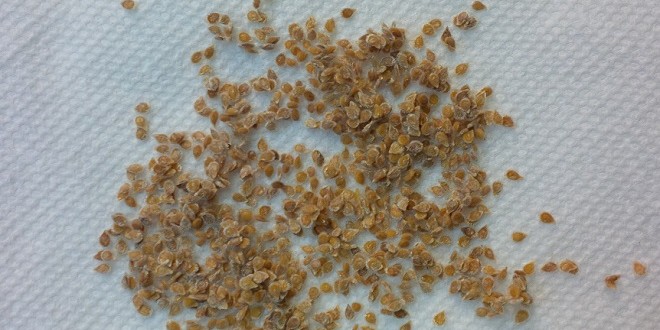
Put a fine sieve in a basin and pour the mixture into the sieve. Let water run into the sieve while shaking the sieve, the seeds would fall with the water into the basin. Do this a couple more times if necessary. Now that all the slimy stuff is washed off the seeds, we can lay them on a piece of coffee filter or paper towel and let the water drain out.
Seeds Storage
A few days later, the seeds are dry. I’d put them in an envelope, mark it (variety and date saved) and put the envelope in a dry location. It should be good for the next year, or two. I would rather not put them in a plastic bag, but if the seeds are really dry, it should be okay. Some recommend storing the seeds in an air-tight container and leaving it in the fridge. Just don’t forget to label it. I might take a picture of the tomato and leave a copy with the seeds.